Update: 06/15/2020
As of the release of Local Lightning (5.0+) the Volumes addon used in this article is no longer in use. Instead Local now uses symlinks. I’ve written on a development workflow with symlinks before and Kinsta has a great article on symlinks.
In my theme or plugin development workflow I like to keep the git repository separate from my local WordPress install.
I’ve been testing out Local by Flywheel for local development recently. It’s got some really nice features and has a nicer GUI than Vagrant and it’s free-er than MAMP.
One issue I ran into is that a traditional symlink won’t work with the container based setup Local uses. You can try running a symlink command. And it’ll show in your file system, but WordPress won’t recognize the theme or plugin. 😭
A Use Case for Symlinks
In the case of themes I store the git repo of the theme files in my Themes directory and symlink it to my Sites/site/app/public/wp-content/themes directory of the current site I’m working on locally.
This lets me reference the theme files from my main Themes directory in the wp-content/themes directory. So I can do this to have multiple WordPress sites use the same theme files. Helps me keep things up to date as I test different setups.
Symlinks in Local by Flywheel
The problem we run into is that Local uses Virtualbox which doesn’t support symlinking outside of the shared Virtualbox folder.
The solution is a useful little add-on Flywheel has built that allows mounting of additional directories into your sites. That add-on is Local Addon Volumes.
Installing the add-on is easy. I’ll let Local explain the details.
Flywheel on Github
1. Download the latest release
2. Go to Settings » Add-ons inside Local (1.1.0 or newer) and click on Install Add-on
3. Browse to the downloaded release
4. Check the checkbox by the Volumes addon to enable it
5. Restart Local
Once you’ve added and restarted Local you’ll have a Volumes option under your More tab.
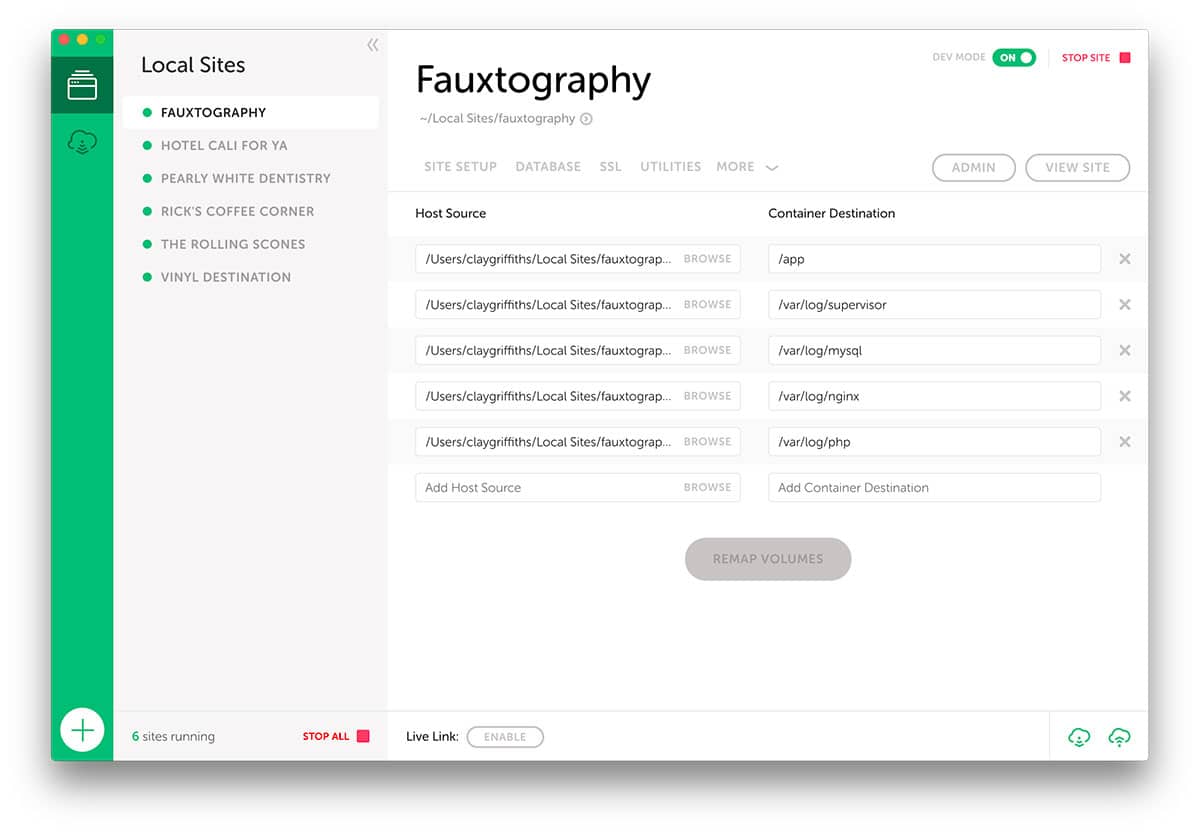
You’ll see two fields that need to be set. First us is Add Host Source. This is going to be the path to your theme files on your system. Just click Browse and select your theme directory.
The next field you’ll need to set is Add Container Destination. This is where we tell Local where the theme files should be mapped to. Set this to /app/public/wp-content/themes/theme-name. And if you’re working with plugins switch to /app/public/wp-content/plugins/plugin-name.
That’s it. Now you can work on the files from your Theme directory and see the changes reflected on your Local site.
You will need to do this on each site you want to run your theme or plugin on. I love it for testing my themes and plugins on multiple sites with different content, PHP, and WordPress versions.
